こんにちは、GMOアドマーケティングのS.Rです。
前回はGCEでJupyterを構築する方法を投稿しました。今回はJupyterで簡単なUIを作る方法を投稿させていただきます。本記事中の図説は、筆者が自らの環境で作成したものを含みます。
1依存Libraryをインストール:
Step 1: Pythonのpackage管理をするツールpipをインストールします。
|
1 2 |
curl https://bootstrap.pypa.io/get-pip.py -o get-pip.py sudo python get-pip.py |
Step2:JupyterのUI Library ipywidgetsをインストールします。
|
1 |
pip install ipywidgets |
Step3:JupyterのUI Library ipywidgetsを有効にします。
|
1 |
jupyter nbextension enable --py widgetsnbextension |
2活用する例:
まず下記のコードでLibraryをImportします。
|
1 2 3 |
from __future__ import print_function from ipywidgets import interact, interactive, fixed, interact_manual import ipywidgets as widgets |
1)テキストエディタ:
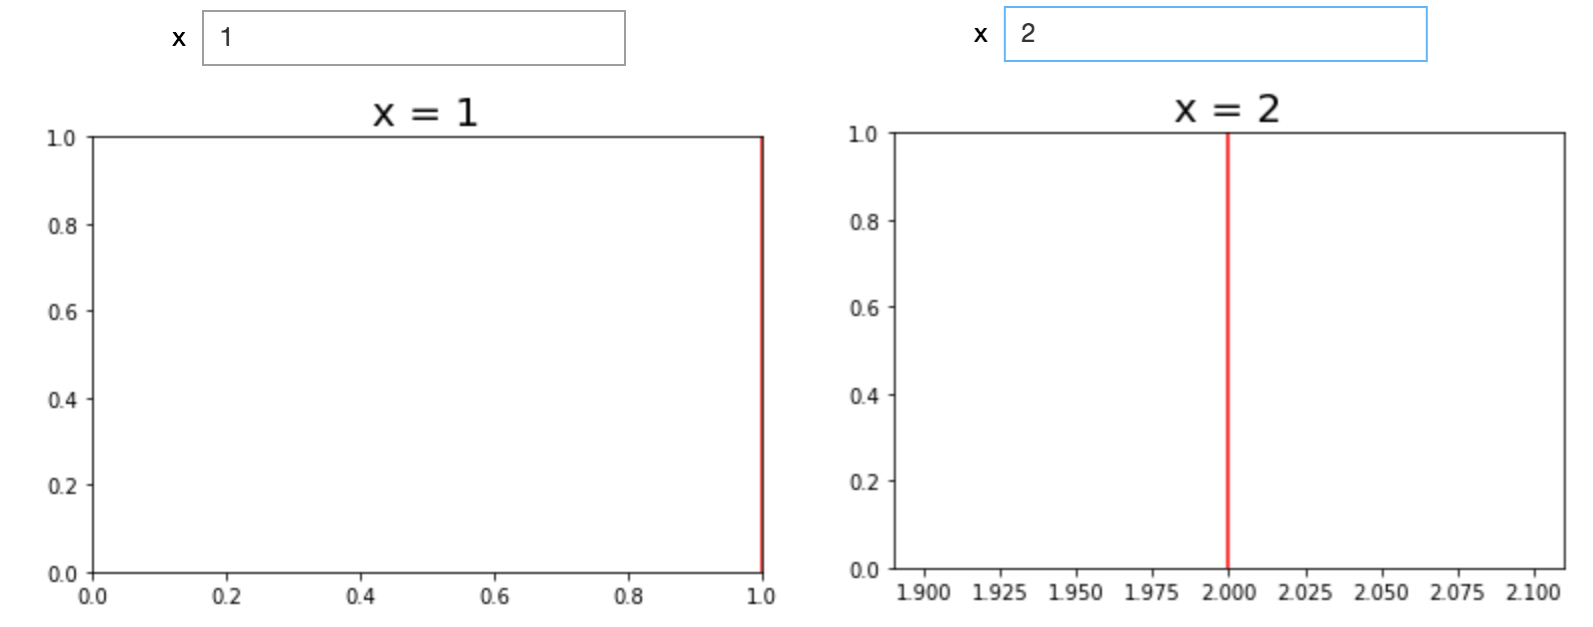
Step 1:コールバック関数を書きます。引数xはテキストエディタに入力されたデータです。今回は例 としてテキストエディタに入力された数を2元座標に赤い縦線を描きます。
|
1 2 3 4 5 6 7 8 9 10 11 12 |
from __future__ import print_function from ipywidgets import interact, interactive, fixed, interact_manual import ipywidgets as widgets def callback(x): try: plt.title('x = ' + str(x) , fontsize=20) plt.axvline(x=int(x), color='r') except: pass plt.show() return x |
Step 2:テキストエディタを作ります。xの初期値はString型の時に返却するComponetがテキストエディタです、整数型の時にスライダバーを返却します。
|
1 |
interact(callback, x="1"); |

2)スライダバー:
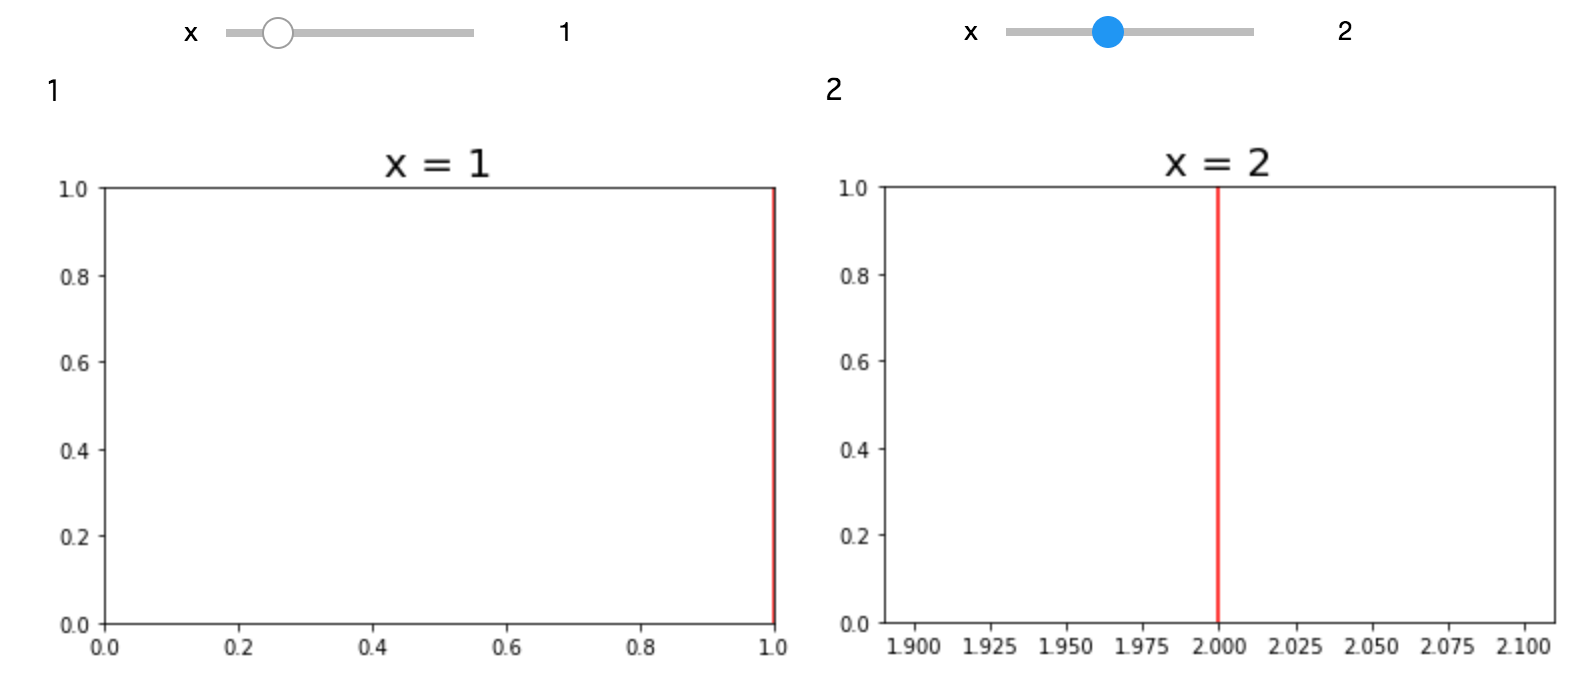
スライダバーとテキストエディタを使うAPIは下記です。引数minは下限値です、maxは上限値です、valueは初期値ですstepはスライダーバーのインターバルです。
|
1 |
interact(f, x=(0,8,2)); |

3)ボタン:
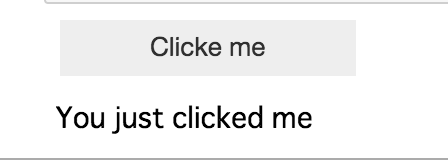
Step 1:コールバック関数を書きます。今回はボタンをクリックすると、”You just clicked me”を表示します。
|
1 2 3 4 5 6 7 8 9 10 |
from __future__ import print_function from ipywidgets import interact, interactive, fixed, interact_manual import ipywidgets as widgets import matplotlib.pyplot as plt import numpy as np import matplotlib.mlab as mlab import math display(button) def on_button_clicked(b): print("You just clicked me") |
Step 2:ボタンを作ります。
|
1 2 |
button = widgets.Button(description="Clicke me") button.on_click(on_button_clicked) |

3. まとめ
ipywidgetsで簡単のUIを作りました。いかがだったでしょうか。もし皆さんの日々の業務に役に立てれば幸いです。


